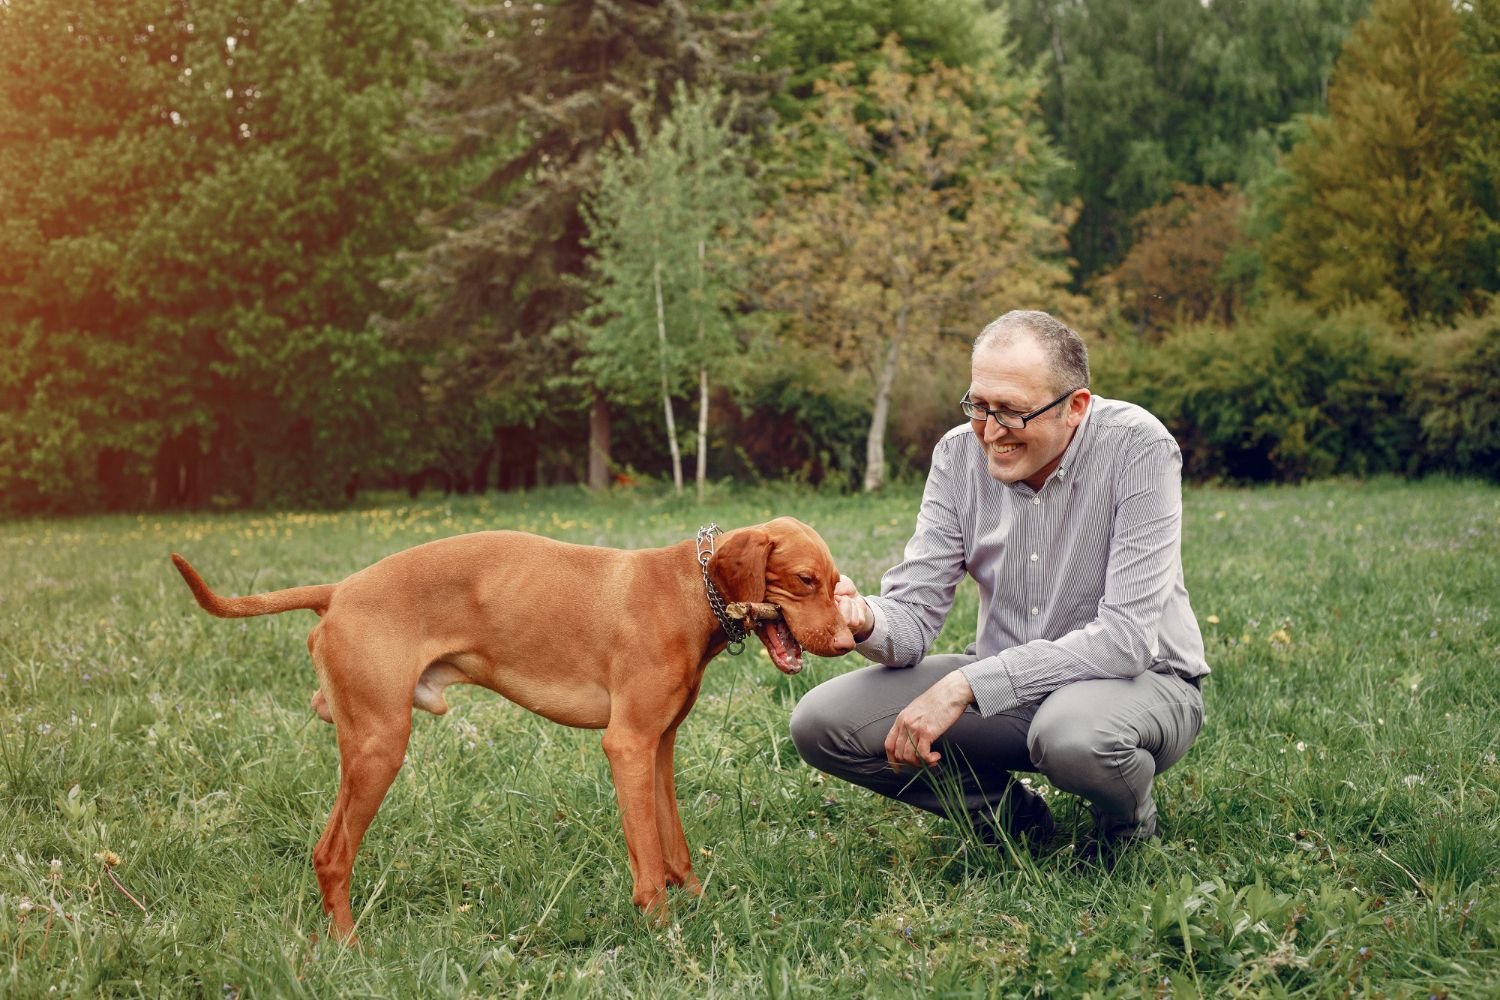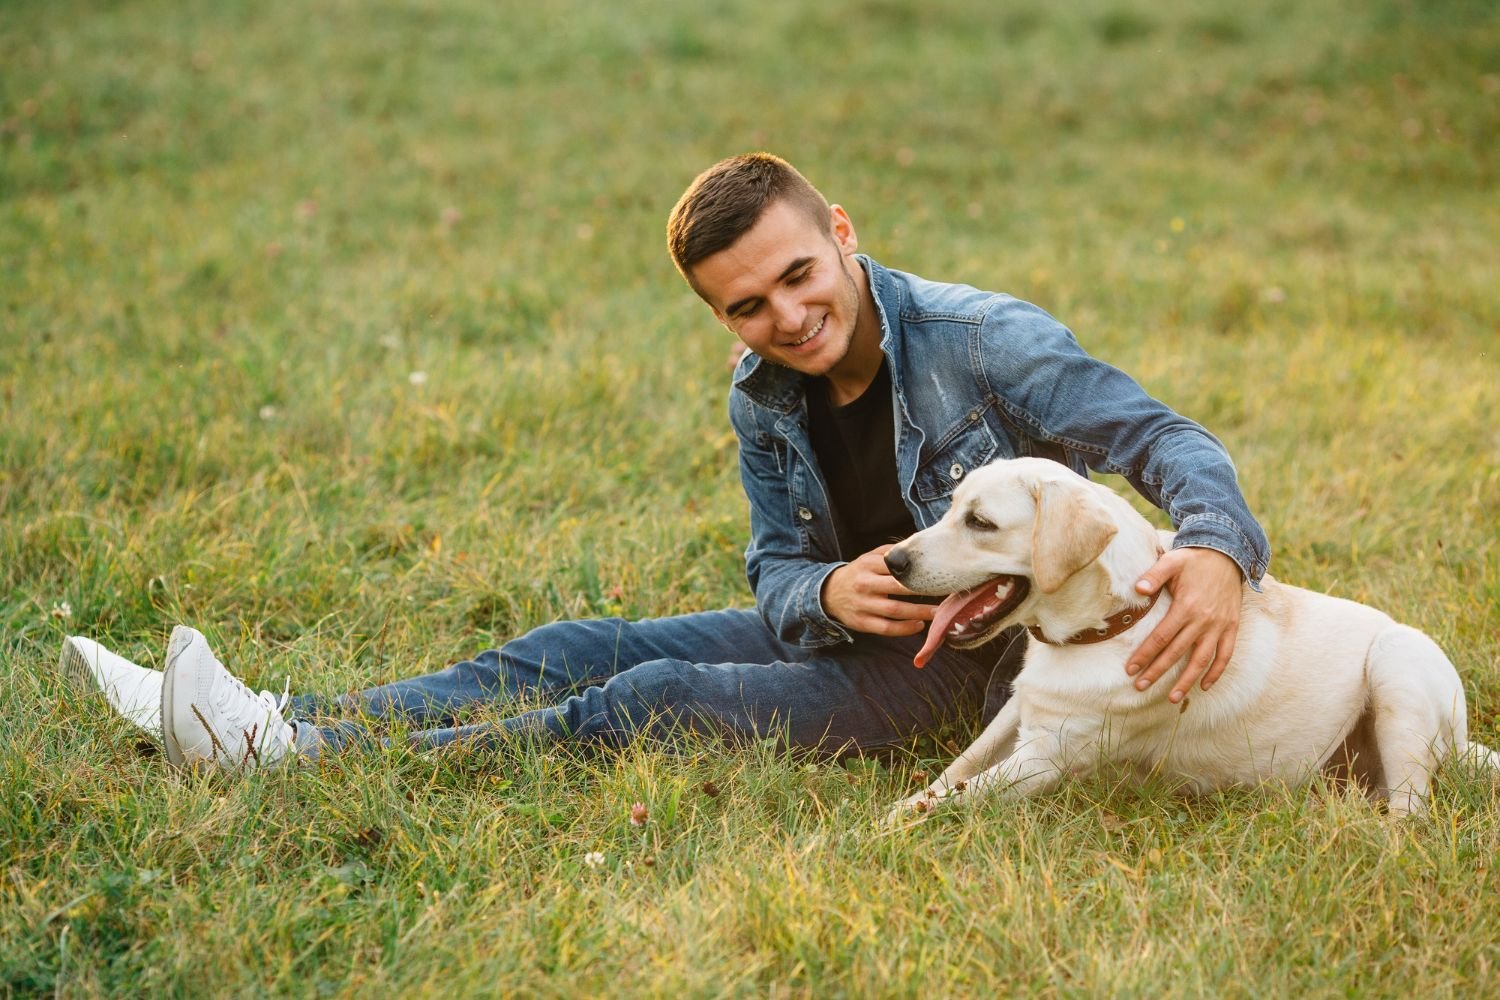
Natural light pet photography is a simple way to capture beautiful pictures of dogs and cats without complicated lighting equipment. A window, a comfortable spot and a little attention to your pet’s position can make an ordinary indoor photograph look more natural and appealing.
The easiest way to take better pet photos at home is to position your dog or cat near a window where soft daylight reaches their face or body. Choose a clean background, avoid harsh direct sunlight and take pictures when your pet is relaxed. Small adjustments to your position and camera angle can make a noticeable difference.
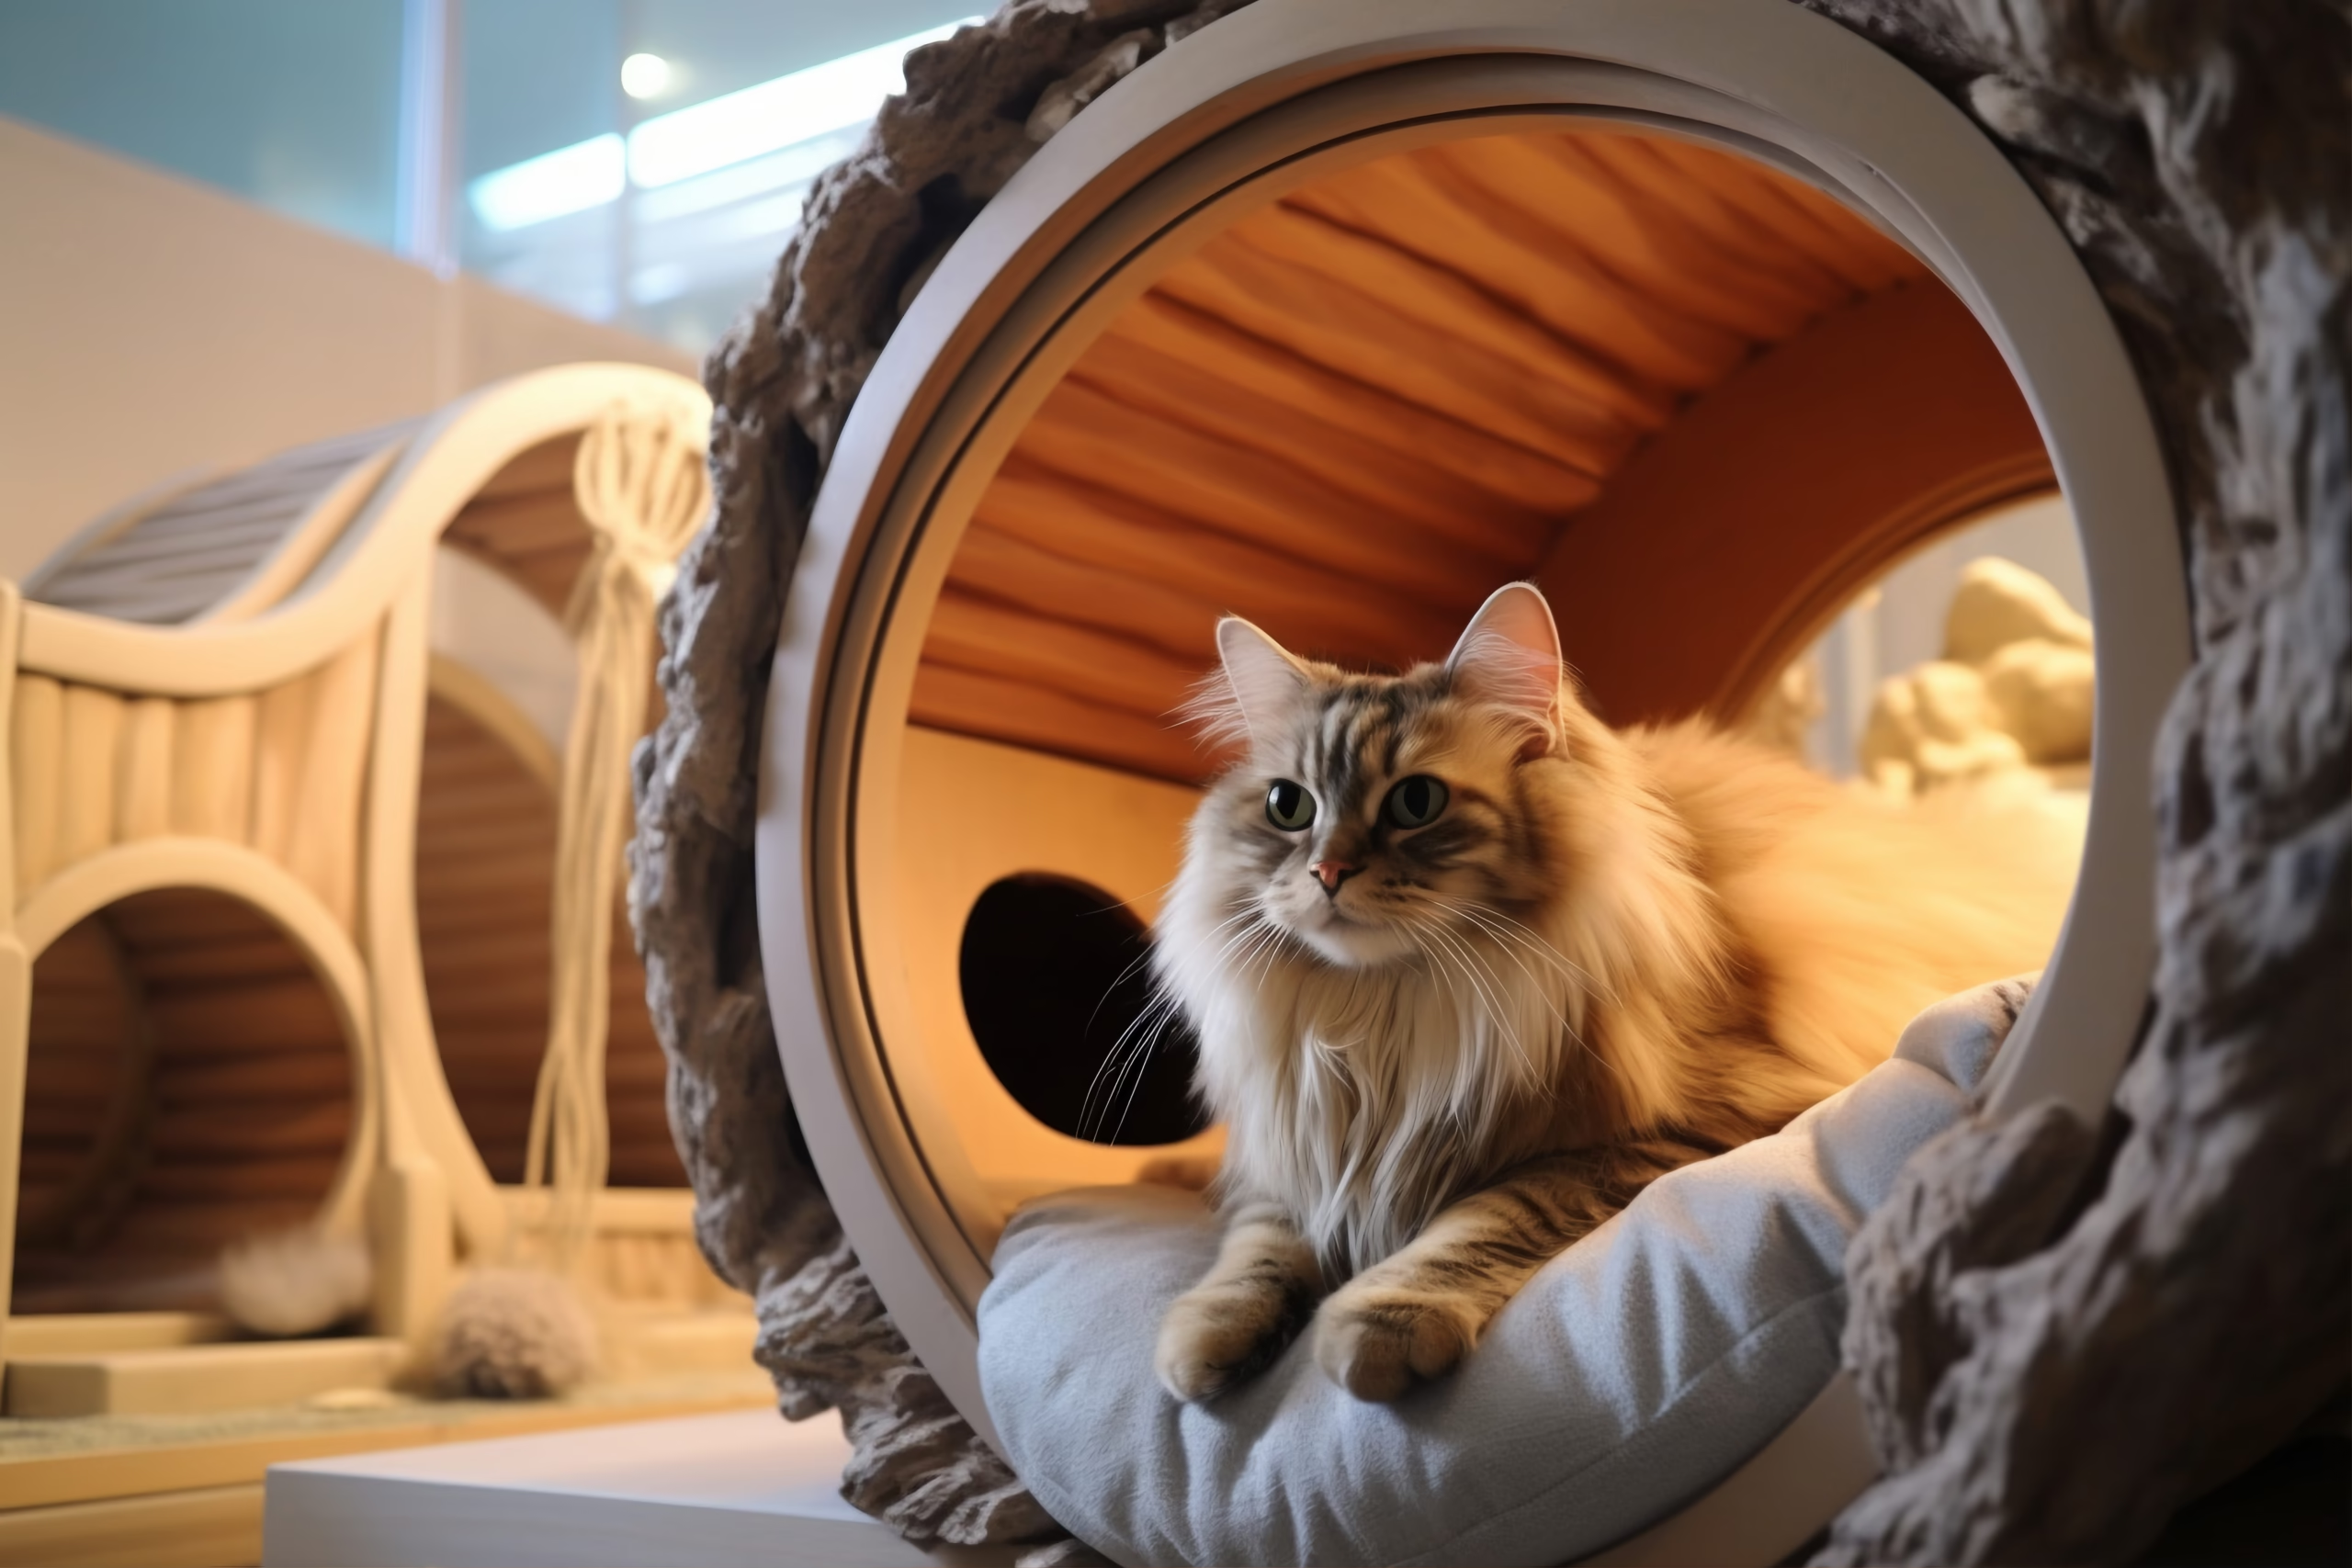
Whether you are photographing a curious cat resting on a windowsill or a dog relaxing on a favourite blanket, natural light can help capture their expressions, colours and everyday personality.
1. Understand How Natural Light Works in Pet Photography

Natural light is daylight that enters a room through windows, glass doors or other openings. Unlike artificial lighting, its appearance changes throughout the day depending on the weather, window direction and surrounding environment.
For pet photography, soft natural light is often useful because it creates gentle shadows and helps preserve details in your pet’s fur.
Soft Light vs Direct Sunlight
Understanding the difference can help you choose a suitable photography spot.
- Soft natural light: Usually produces gentle shadows and balanced brightness. It can come from a window with indirect daylight or a naturally shaded area.
- Direct sunlight: Creates stronger highlights and darker shadows. It can sometimes make light-coloured fur appear too bright in photographs.
- Overcast daylight: Cloudy weather often provides softer and more evenly distributed light through windows.
For everyday indoor photography, a window that receives indirect daylight is a convenient starting point.
2. Choose the Right Window for Your Photos

The window you choose can affect the brightness, direction and overall appearance of your pet photographs.
Look for a window that provides enough daylight without creating extremely bright patches across your pet’s face.
Observe the Light Before Taking Pictures
Before positioning your pet, spend a moment observing how daylight enters the room.
Check:
- Which direction the light comes from.
- Whether sunlight falls directly on the floor or furniture.
- Whether the area has enough brightness.
- Whether nearby objects create distracting shadows.
A large window is not always necessary. Even a smaller window can provide useful lighting when your pet is positioned appropriately.
Avoid Strong Backlighting
Backlighting happens when the brightest light source is directly behind your pet.
This can make your pet appear too dark while the window looks excessively bright.
To avoid this, try standing between the window and your pet or position your pet at an angle to the light. Experiment with different positions until the face and fur are clearly visible.
3. Pick a Simple and Clean Background
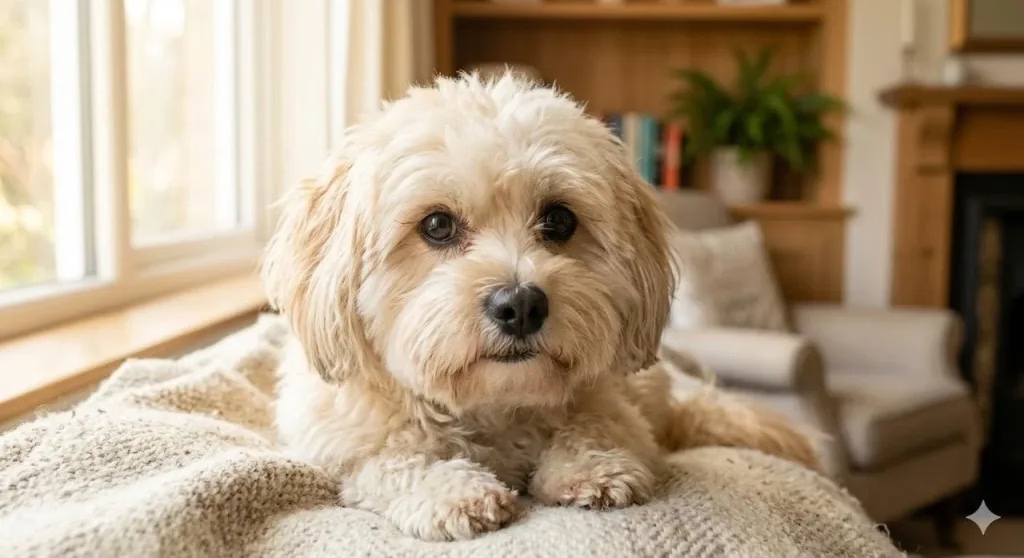
A good background helps keep attention on your pet rather than surrounding objects.
You do not need a professional photography backdrop. Ordinary household spaces can work well when they are clean and visually organized.
Background Ideas for Indoor Pet Photography
Consider using:
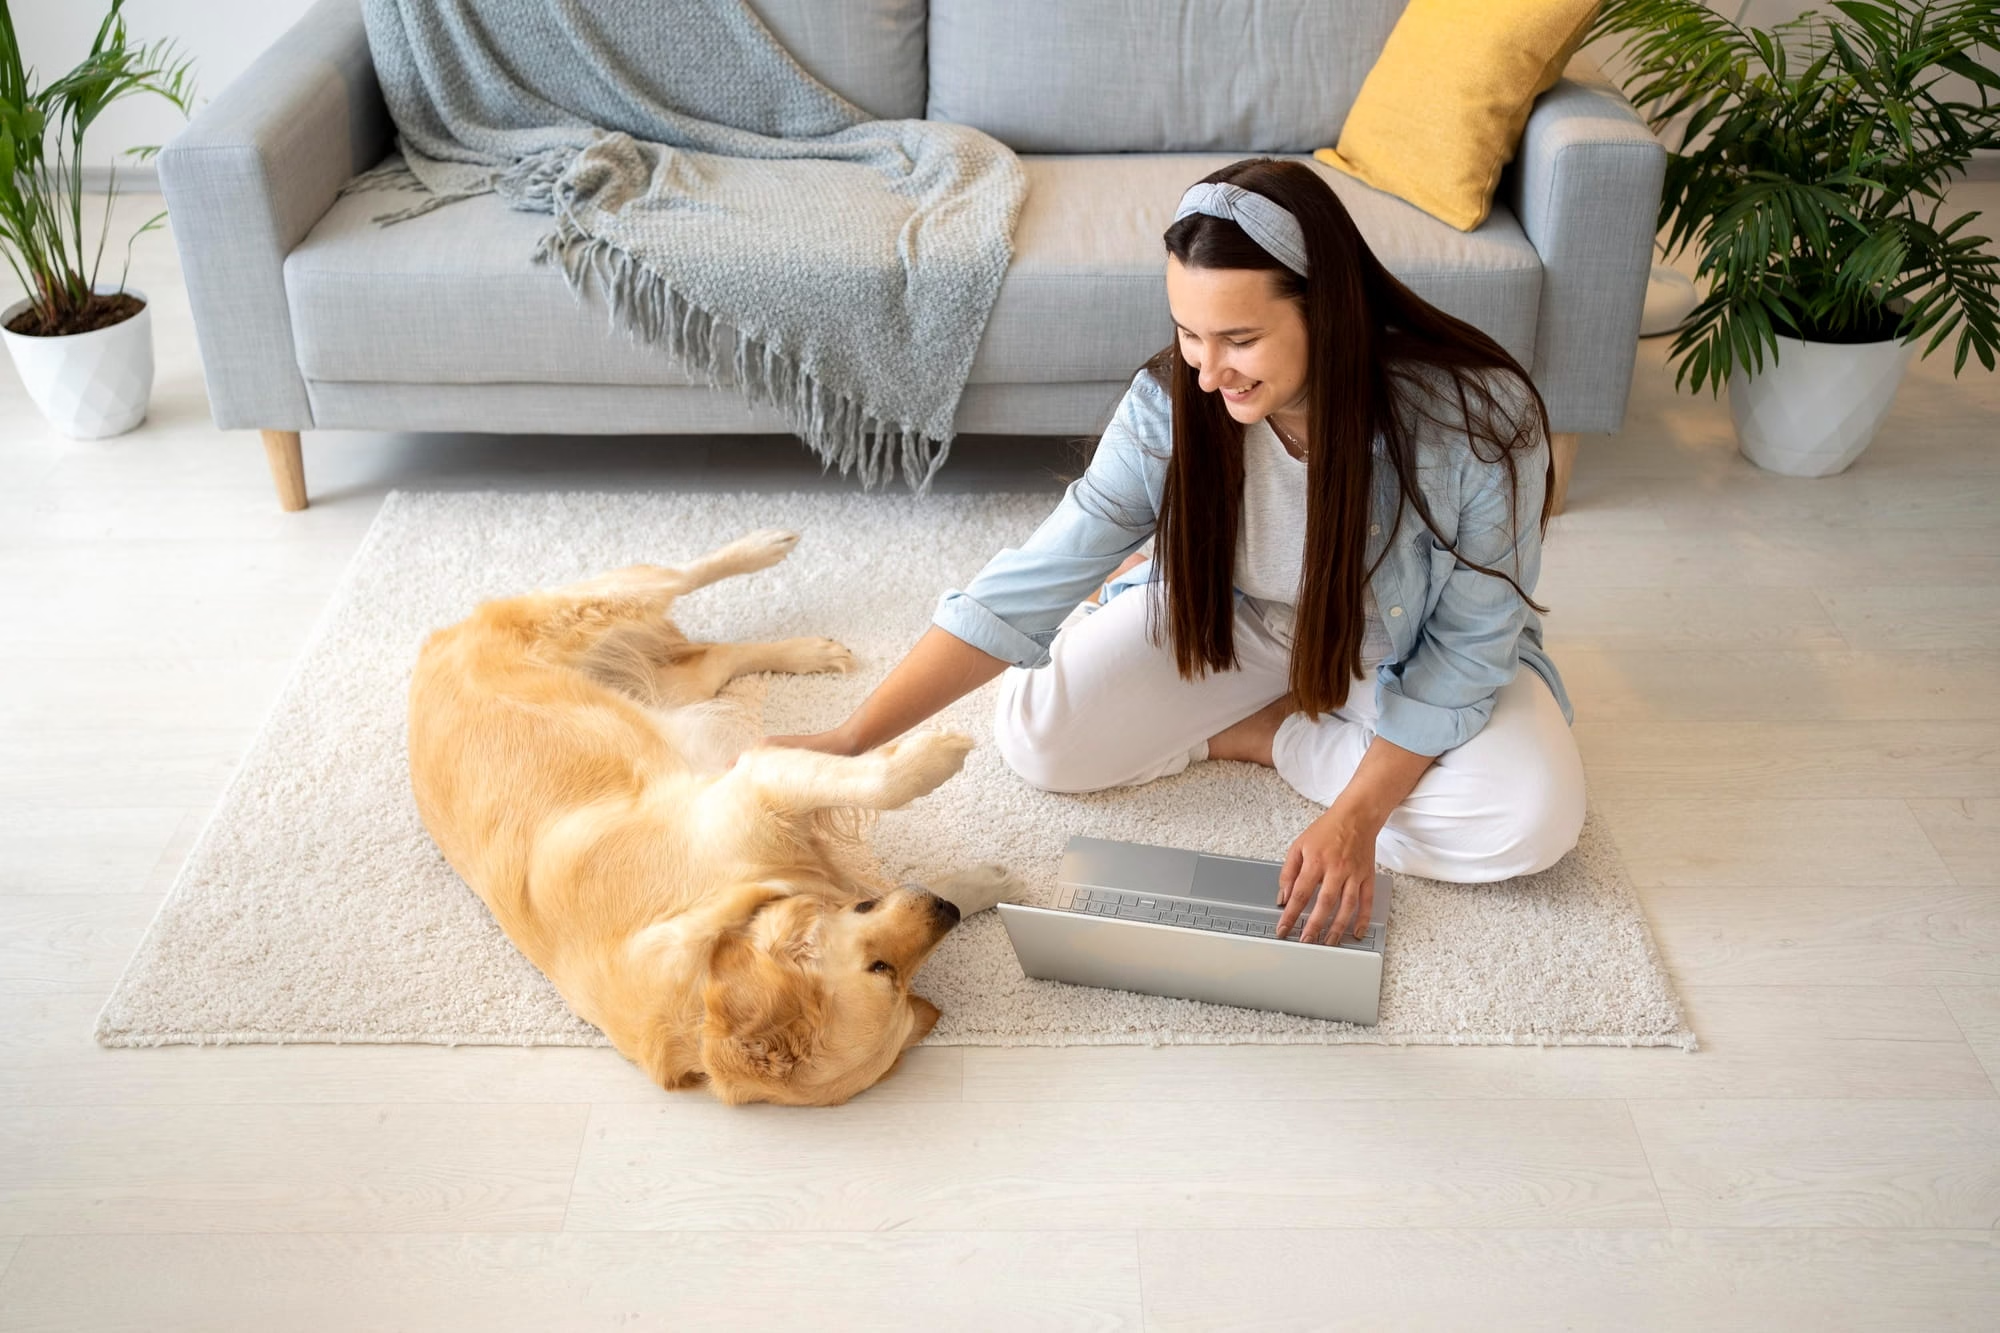
- A plain sofa or armchair.
- A neutral-coloured blanket.
- A clean windowsill.
- A simple rug.
- A tidy corner with natural daylight.
- A comfortable pet bed near a window.
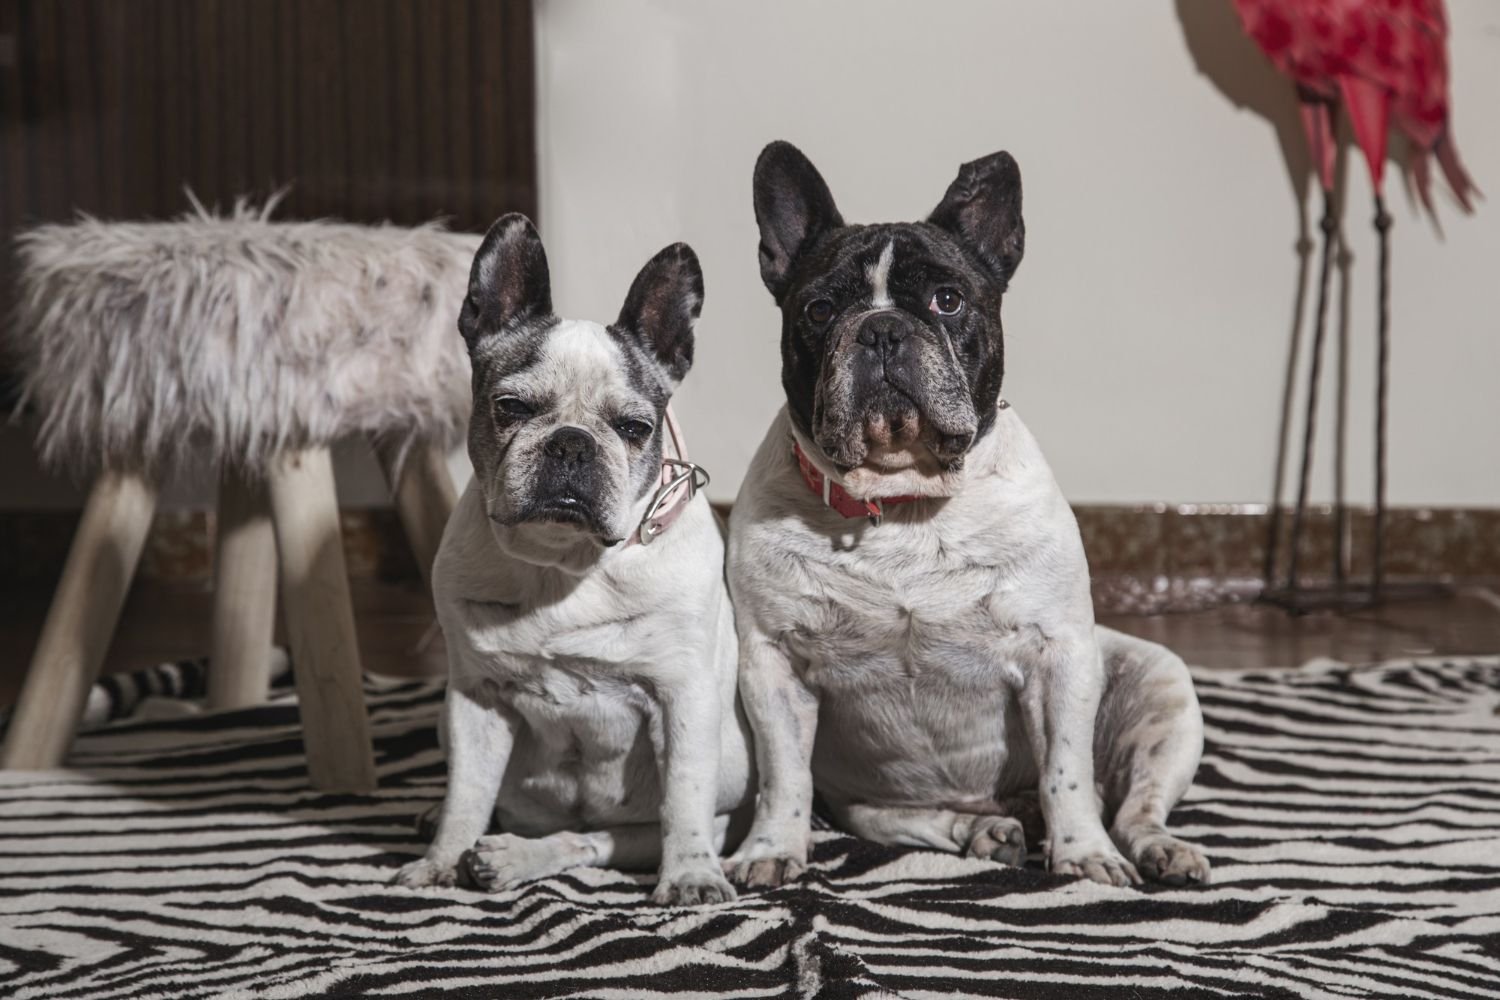
Try to avoid cluttered shelves, scattered toys, bright objects and busy patterns directly behind your pet.
Match the Background With Your Pet’s Fur
The background colour can also affect how clearly your pet appears in the photograph.
For example, a dark-coloured cat may be easier to distinguish against a lighter background. Similarly, a white or cream-coloured dog may stand out more clearly against a slightly darker neutral setting.
The goal is to create enough visual contrast without making the photograph look overly staged.
4. Position Your Pet According to the Light

Your pet’s position can change how natural light appears in the final photograph.
Rather than keeping your pet in one fixed position, experiment with a few simple arrangements.
Front Lighting
Place your pet facing the window so daylight falls towards their face.
This can help reveal facial details, eye colour and fur texture.
Side Lighting
Position your pet beside the window so light reaches one side of their face or body.
Side lighting can create gentle shadows and add depth to the photograph. It is particularly useful when capturing fur patterns and facial features.
Backlighting
Allow the window to remain behind your pet and photograph from the opposite direction.
This can create an interesting silhouette or a soft outline around the fur. However, exposure may need adjustment to keep your pet’s features visible.
Try all three positions and see which one suits the scene.
5. Use the Right Camera Angles
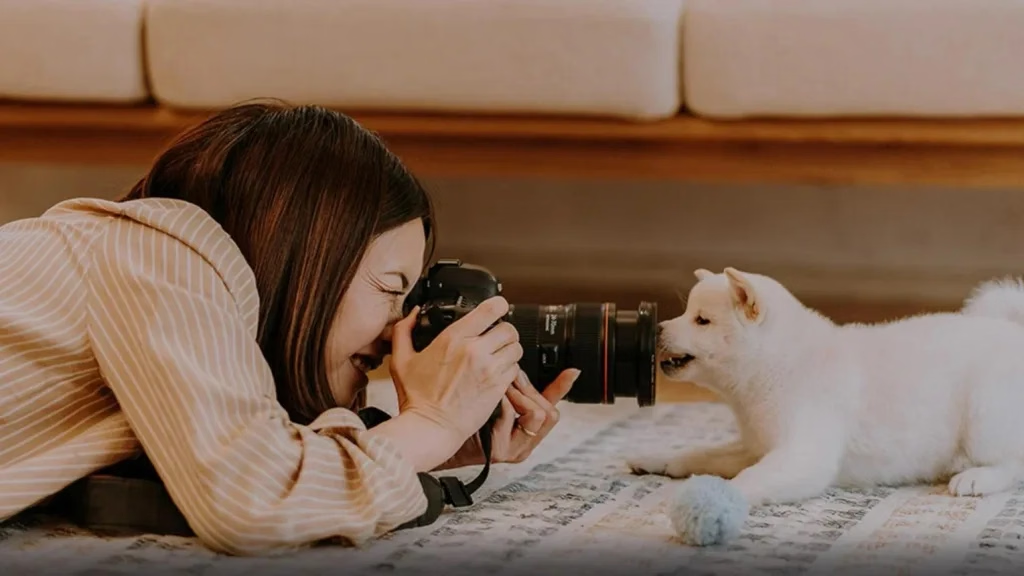
Camera angles can make an ordinary pet photograph feel more personal and engaging.
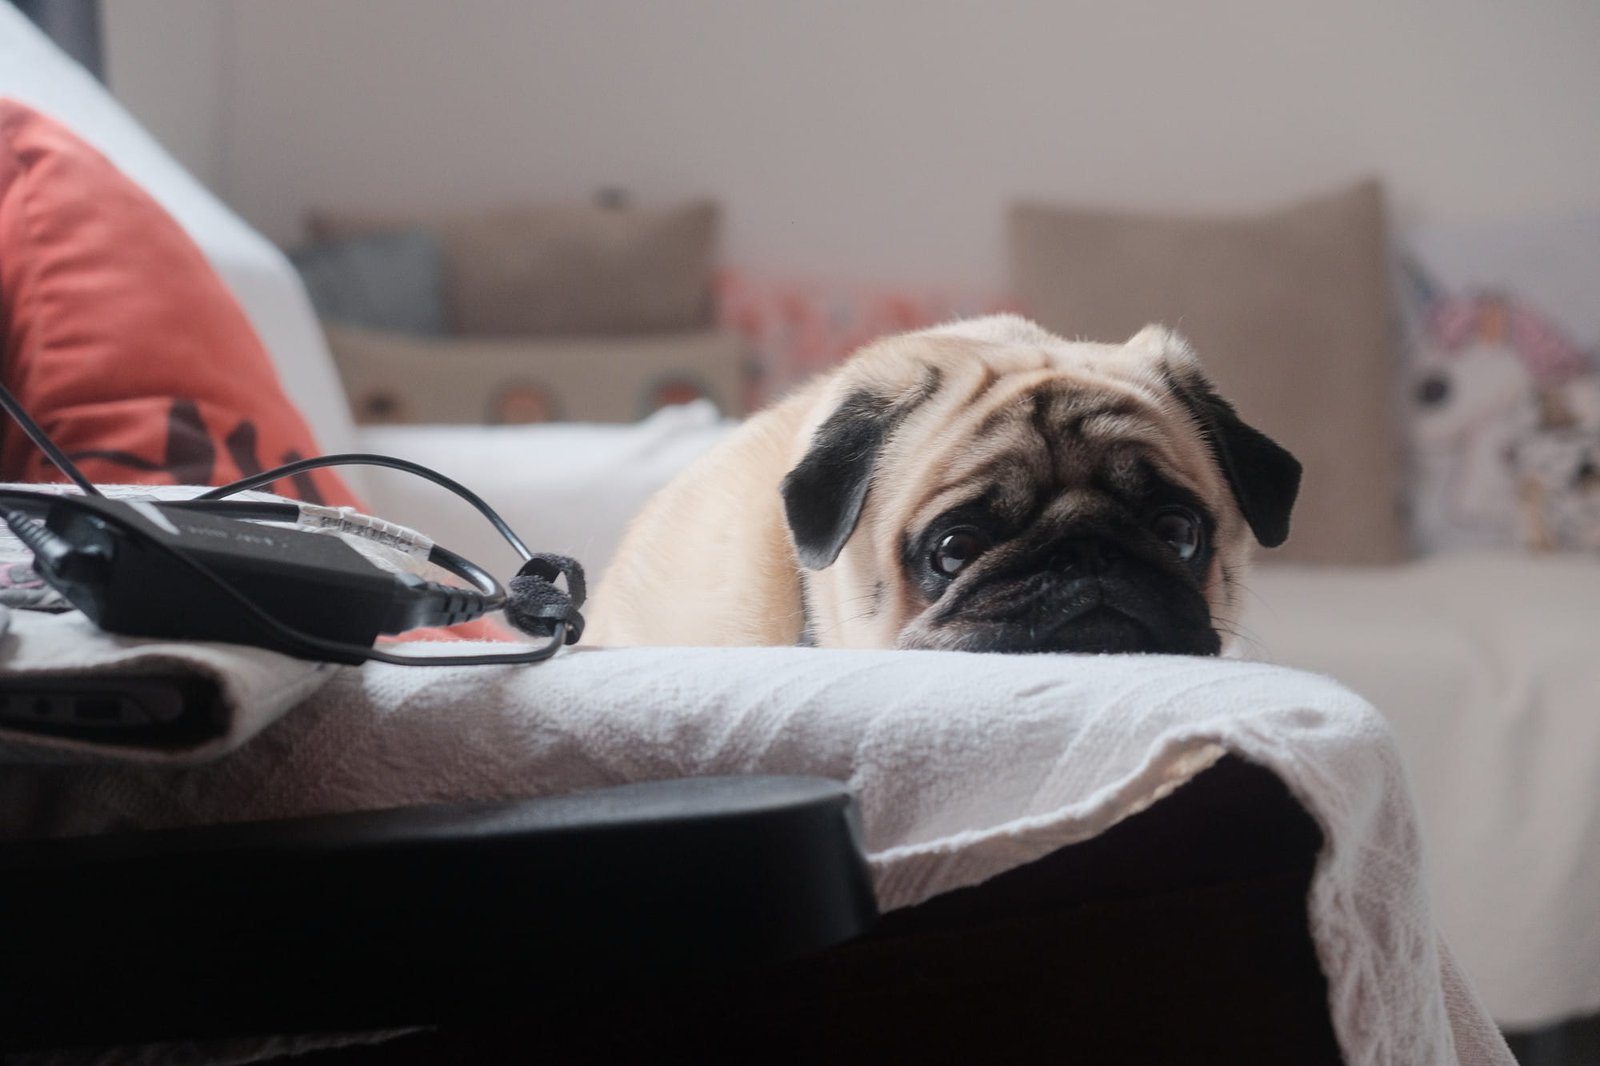
One useful technique is to photograph your pet from their eye level rather than always taking pictures while standing above them.
Eye-Level Photography
Move closer to your pet’s height and position the camera near their eyes.
This creates a more direct perspective and helps capture facial expressions.
Slightly Above Your Pet
A slightly elevated angle can work well when photographing a cat sitting on a blanket or a dog resting on the floor.
It can also show the surrounding environment without making your pet look too small.
Close-Up Photography
Focus on interesting details such as:
- Your cat’s eyes and whiskers.
- Your dog’s facial expressions.
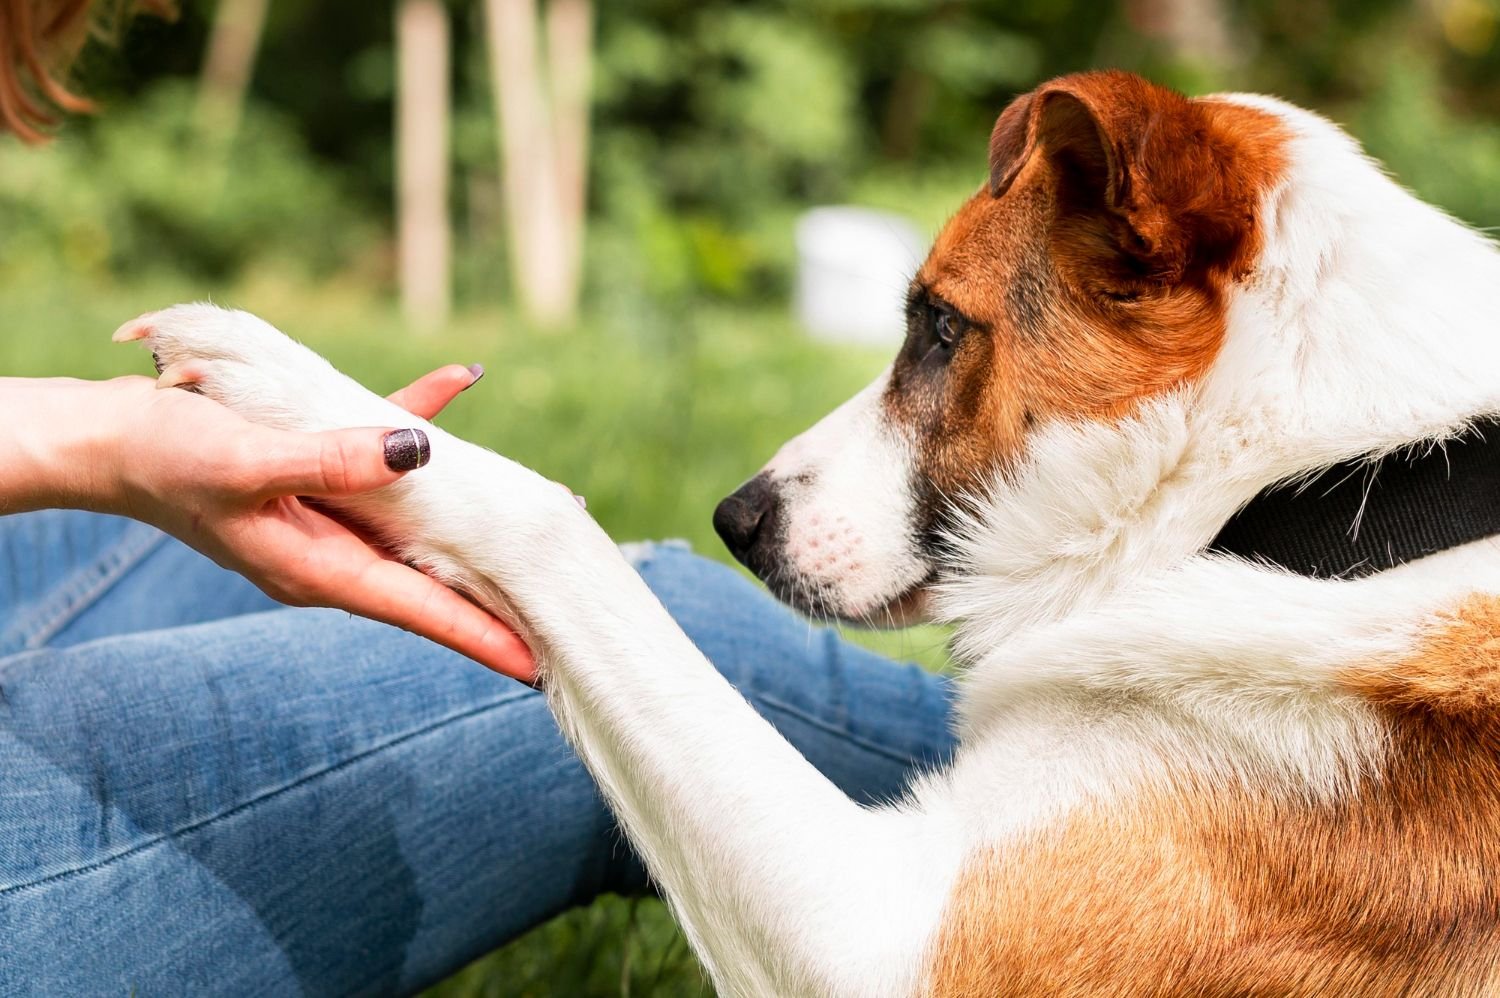
- Paw details.
- Fur patterns.
- Small everyday moments, such as a relaxed yawn.
Avoid getting so close that your camera struggles to focus. Allow enough distance to capture clear details.
6. Photograph Pets During Natural Everyday Moments

Some of the most appealing pet photographs come from ordinary moments rather than carefully arranged poses.
Instead of expecting your dog or cat to remain still for a long time, observe their natural behaviour and be ready to capture interesting moments.
Everyday Photo Opportunities
Try photographing your pet when they are:
- Looking through a window.
- Resting on their favourite blanket.
- Sitting beside a sunny corner.
- Playing with a familiar toy.
- Exploring a comfortable indoor space.
- Looking towards a familiar sound.
Keep the camera ready and take several photographs when your pet changes position.
Avoid forcing a pose or repeatedly interrupting your pet to get a particular picture. Comfortable, relaxed behaviour usually creates more natural-looking photographs.
7. Adjust Your Phone or Camera Settings

You do not need an expensive camera to practise natural light pet photography. A modern smartphone can capture detailed indoor photographs when the lighting and composition are suitable.
A few simple adjustments can improve your results.
Tap to Focus
Tap your pet’s face or eyes on your phone screen to set the focus.
This helps keep the most important part of the photograph sharp.
Adjust Exposure
If your photograph looks too bright or too dark, adjust the exposure using your phone’s camera controls.
A slightly lower exposure can help preserve details in bright fur and areas receiving direct daylight.
Use Burst Mode for Movement
Dogs and cats rarely stay in one position for long.
Burst mode or continuous shooting can capture several frames quickly, giving you more opportunities to select a clear photograph.
Avoid Digital Zoom
Moving closer is often better than using excessive digital zoom, which can reduce image quality.
Keep enough distance to photograph your pet comfortably without disturbing them.
8. Common Natural Light Pet Photography Mistakes to Avoid
Even a well-lit room can produce disappointing photographs when a few basic details are overlooked.
Here are some common mistakes and ways to avoid them.
| Common mistake | How to improve it |
| Photographing in harsh sunlight | Move to a spot with softer daylight |
| Very bright windows behind pets | Adjust your shooting position |
| Cluttered backgrounds | Clear distracting objects |
| Taking every photo from above | Try eye-level angles |
| Moving too close | Leave enough focusing distance |
| Photographing during low light | Choose a brighter time of day |
| Forcing pets to pose | Capture relaxed everyday moments |
A few small adjustments can make indoor pet photography easier without requiring additional equipment.
9. Create a Simple Natural Light Photography Setup at Home

You can create a small photography area using items you already have at home.
Choose a comfortable location near a window and arrange the surroundings before bringing your pet into the space.
A Simple Setup
- Select a window with soft natural daylight.
- Place a clean blanket or pet bed nearby.
- Remove unnecessary objects from the background.
- Check the lighting from different angles.
- Keep your phone or camera ready.
- Allow your pet to explore the space naturally.
You can change the blanket, background or position occasionally to create different photographs without completely rearranging your home.
The most important thing is to make the space comfortable for your pet rather than treating it like a professional photography studio.
Frequently Asked Questions (FAQs)
1. What is the best time of day for natural light pet photography?
Morning and late afternoon can provide softer daylight, depending on your window direction and surroundings. However, any time with sufficient indirect daylight can work. Observe the light in your room before choosing a photography time.
2. Can I take good pet photos using only my phone?
Yes. A smartphone can capture attractive pet photographs without professional equipment. Focus on your pet’s eyes, use natural daylight, keep the background simple and avoid excessive digital zoom.
3. How do I photograph a black dog or cat near a window?
Use soft daylight and make sure your pet’s face receives enough light. A lighter background can help create contrast. Tap your pet’s face to focus and adjust exposure if the photograph appears too dark.
4. Why do my pet photos look blurry indoors?
Blurry photographs can result from low lighting, camera movement or a pet moving during the shot. Try photographing in a brighter area, hold your phone steadily and use burst mode when your pet is moving.
5. Should I use flash when photographing pets indoors?
Natural daylight is a useful starting point because it avoids the need for additional lighting. Try adjusting your position near a window before considering flash. Avoid surprising or repeatedly disturbing your pet with sudden flashes.
6. What background colours work well for pet photography?
Neutral colours such as beige, cream, grey and soft brown can create simple backgrounds. Choose a colour that contrasts with your pet’s fur so their features remain clearly visible.
7. How can I photograph a moving dog in natural light?
Choose a bright area near a window or an open, well-lit room. Use burst mode or continuous shooting to capture several frames. Try to anticipate your dog’s movement instead of waiting until the last moment.
8. How can I take natural-looking pictures of my cat at home?
Photograph your cat during familiar activities such as resting, looking outside or exploring a comfortable space. Use soft window light and avoid forcing your cat into a particular position.
9. Do I need a professional camera for indoor pet photography?
No. A smartphone is sufficient for many everyday photography projects. Good lighting, thoughtful positioning, a clean background and correct focus often matter more than having expensive equipment.
10. How can I make my pet photographs look less staged?
Allow your pet to behave naturally and photograph ordinary moments without repeatedly interrupting them. Familiar surroundings, favourite resting spots and comfortable activities can help create more authentic photographs.