There is a moment during nail trimming that makes many dog parents nervous.
You pick up your dog’s paw, look at a completely black nail, and suddenly realize you cannot see where the quick ends. With a light colored nail, the pink quick often gives you a useful visual guide. With black nails, that helpful little warning sign is hidden.
That does not mean black nails cannot be trimmed safely.
It simply means you need to approach them differently.
The secret to trimming black dog nails without causing pain is not trying to guess where the quick is. It is learning to remove tiny amounts at a time, watching the nail carefully as you work, and knowing when to stop.
The quick contains blood vessels and nerves, so cutting into it can be painful and cause bleeding. The goal is to shorten the nail gradually while leaving a safe margin between the nail tip and the quick.
For some dogs, this may take a little longer than a regular nail trim.
That is perfectly fine.
A calm, careful session is much better than rushing through the job and making your dog afraid of having their paws handled.
Why Black Dog Nails Are More Difficult to Trim
A dog’s nail is not simply one solid piece of hard material.
The quick can extend farther into an overgrown nail, which is one reason suddenly shortening a very long nail can increase the chance of cutting into it.
In light colored nails, the quick can often be seen as a pink or darker central area.
Black nails hide it.
That means you cannot rely on one clear line telling you exactly where to cut.
There is another reason to trim gradually.
Trying to shorten a very long nail dramatically in one session can increase the chance of reaching the quick.
This is why gradual trimming is usually the safer approach.
What Does the Quick Look Like?
Before you trim, it helps to understand what you are trying to avoid.
The quick is the living tissue inside the nail.
When you cut into it, the nail can bleed, and your dog may experience pain.
As you gradually shorten a black nail, the appearance of the freshly cut surface can change. You may begin to see a more distinct center as you get closer to the quick. The exact appearance can vary, so use the changing cut surface as a warning to become more conservative rather than trying to cut right up to the quick.
This is one of the visual clues experienced groomers use.
But do not wait until you are absolutely certain that you have reached the quick.
The safer strategy is to stop while you still have a comfortable margin.
The Tools You Need
You do not need an entire grooming kit to trim your dog’s nails.
You simply need suitable equipment and a little preparation.
Dog Nail Clippers
Choose clippers designed specifically for dogs.
The correct size depends on your dog’s nail thickness.
Clippers that are too small may crush the nail instead of cutting it cleanly, while oversized clippers can make precise trimming more difficult.
Nail Grinder
A grinder can be an excellent alternative or addition to clippers.
Instead of removing a large piece at once, you can gradually file the nail down.
This can be especially useful for black nails because you have more control over how much material you remove.
Some dogs dislike the sound or vibration of a grinder, however, so introduce it slowly.
Styptic Powder
Keep a pet-appropriate styptic product nearby before you begin.
It can help control minor bleeding if the quick is accidentally nicked.
Do not wait until an accident happens to search for something to use.
Treats
Good treats are useful for creating a positive association with paw handling.
You can reward your dog after touching the paw, after presenting the clippers, and after each successfully trimmed nail.
The reward does not have to be large.
The timing matters more.
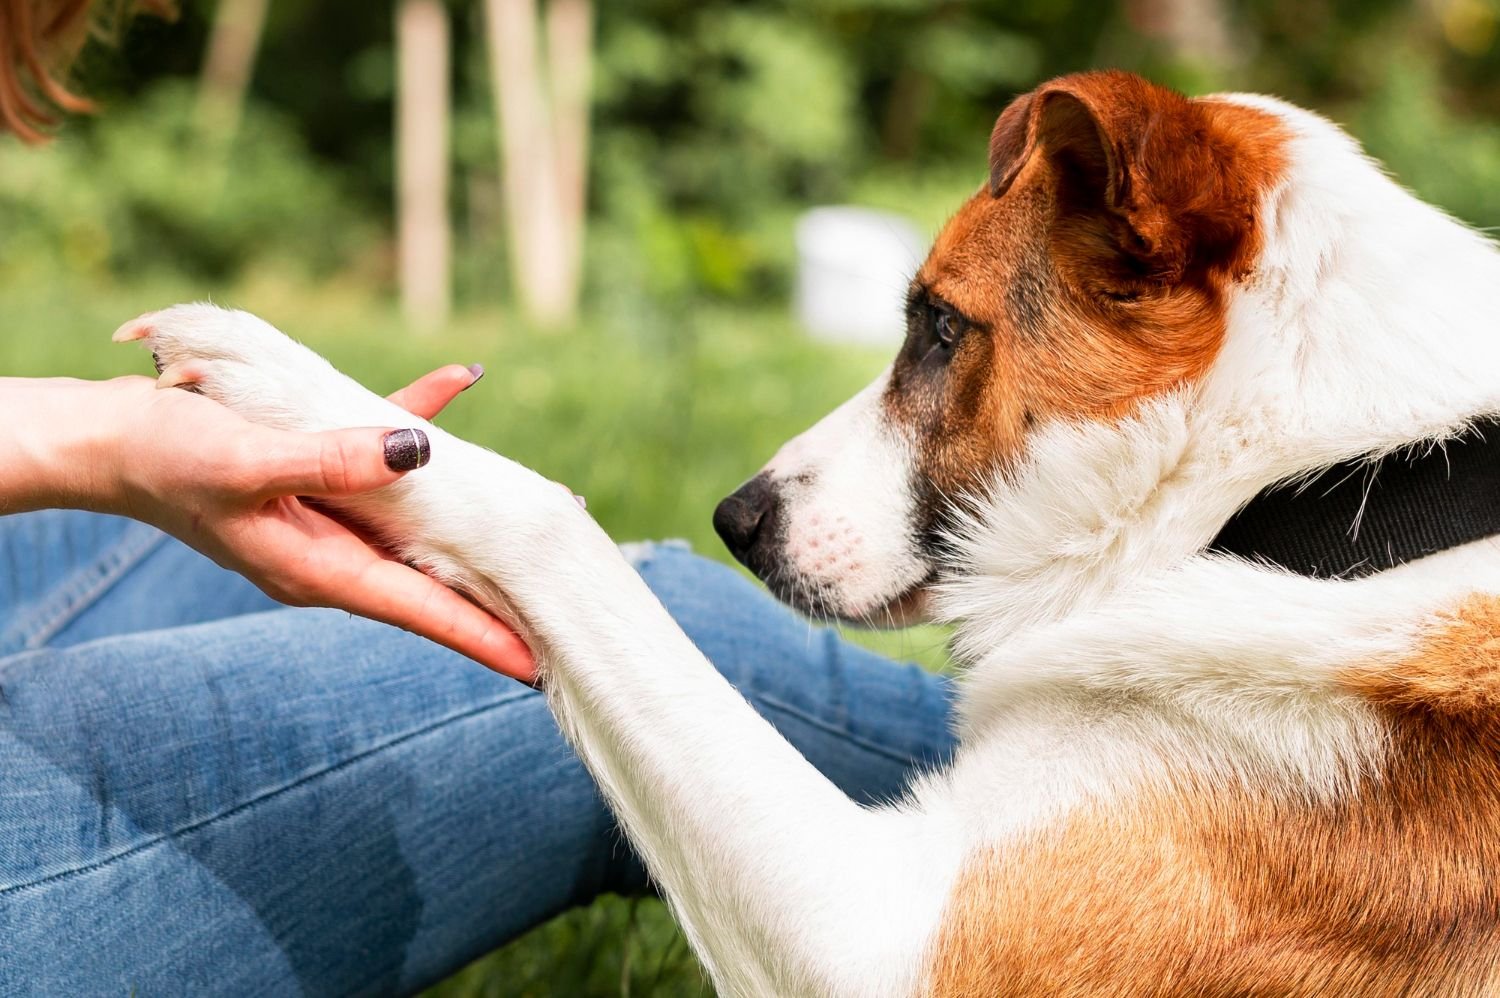
Step 1: Get Your Dog Comfortable With Paw Handling
If your dog already hates nail trimming, do not begin by immediately reaching for the clippers.
- Start with the paw.
- Gently touch it.
- Hold it for a second.
- Release it.
- Reward your dog.
- Repeat this over several sessions.
- Once your dog is comfortable, gently press a toe so the nail extends slightly.
- Reward again.
- Then introduce the clippers without cutting anything.
- Let your dog hear the sound of the clippers opening and closing.
- If you are using a grinder, turn it on several feet away for a moment and reward your dog for remaining calm.
- The goal is to make the tools boring.
- That is a good thing.
Step 2: Choose the Right Position
Your position can make a huge difference.
Your dog should be comfortable and secure rather than struggling against you.
Some dogs are happiest standing.
Others relax when lying on their side.
Small dogs may be easier to handle on your lap, provided they remain calm and you can maintain a secure grip.
Avoid forcing your dog into an awkward position simply because it seems convenient for you.
You need enough control to protect both of you, but your dog should not feel trapped.
If your dog is becoming increasingly distressed, stop and try again later.
Step 3: Hold the Paw Gently
Take one paw and separate the toe you are working on.
Do not squeeze the paw unnecessarily.
You want enough control to keep the nail steady without causing discomfort.
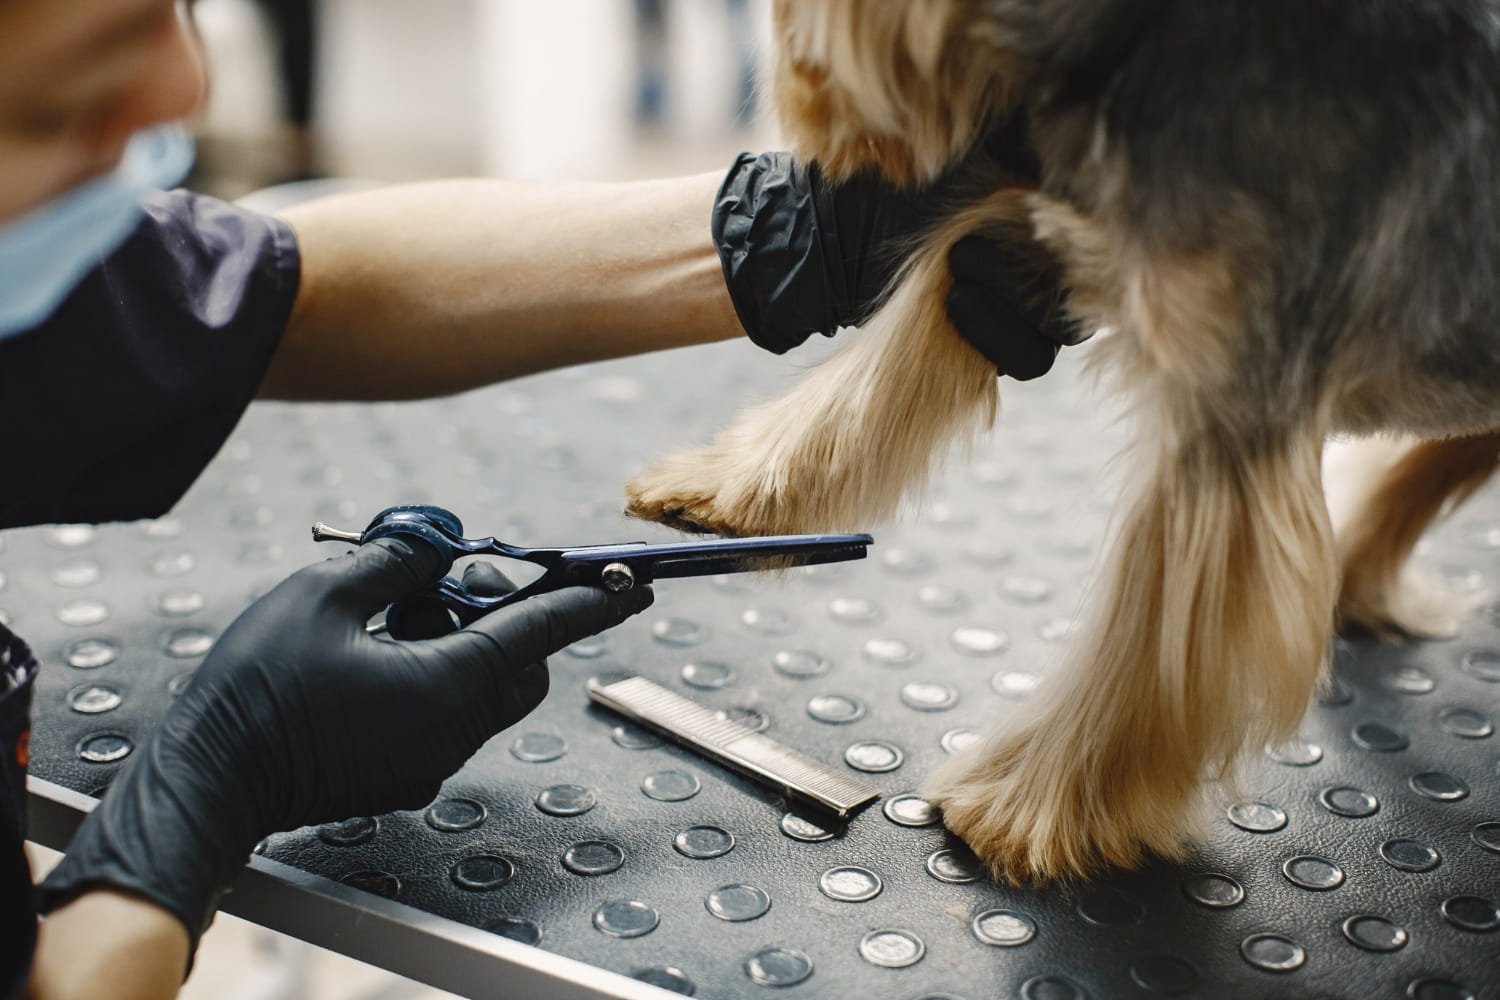
If your dog has hairy feet, gently move the surrounding hair away so you can see the nail clearly.
Good visibility is especially important when trimming black dog nails because you are already working without the advantage of a visible quick.
Step 4: Remove Only the Tip
This is the most important part.
Do not make one large cut.
Take off a very small amount from the end of the nail.
Then look at the freshly cut surface.
If the center still looks relatively uniform and you have plenty of nail remaining, you can remove another tiny amount.
The process should be:
Cut a little.
Look.
Cut a little.
Look again.
It may feel slow at first, but this approach gives you much more control than trying to estimate the quick from the outside.
Step 5: Watch the Center of the Nail
As you gradually shorten the nail, pay attention to the center of the freshly cut surface.
The appearance can change as you approach the quick.
You may begin to see a small darker or more distinct central area.
That is your signal to become even more conservative.
You do not need to cut until the nail is extremely short.
Leave a small safety margin.
If you are unsure, stop.
You can always trim another tiny amount during the next session.
You cannot undo a cut that has already reached the quick.
Step 6: Follow the Natural Shape of the Nail
Do not think only about shortening the nail.
Think about its shape.
Many dog nails curve downward as they grow.
You generally want to remove the sharp tip and gradually shorten the nail while preserving a natural shape.
Avoid taking a huge chunk from one side.
Small, controlled cuts help maintain better symmetry and reduce the chance of crushing or splitting the nail.
Step 7: Use a Grinder for Extra Control
A grinder can be particularly useful when you are nervous about clipping black nails.
Instead of cutting several millimeters at once, you can gently file away tiny amounts.
Start at a low speed if your dog tolerates the device.
Touch the grinder to the nail briefly.
Remove it.
Check the nail.
Then continue.
Do not hold the grinder against one spot continuously because friction can generate heat. Use short contact and check the nail regularly so you do not allow excessive heat to build up.
Step 8: Know When to Stop
This is an important point because it is easy to keep trimming simply because the nail still looks longer than you would like.
You do not have to finish every nail perfectly in one sitting.
If your dog is becoming restless, take a break.
If you are no longer confident about the quick, stop.
If your dog has tolerated several nails but is now clearly uncomfortable, finish the session and try again another day.
Regular small trims can gradually help maintain a more manageable nail length.
What If You Accidentally Cut the Quick?
Even with careful technique, accidents can happen.
Do not panic.
A small nick can cause more blood than you might expect because the quick contains blood vessels.
Apply a pet-appropriate styptic product according to its directions and use gentle pressure to help control the bleeding.
Your dog may react because the injury hurts, so remain calm.
If the bleeding does not stop, is heavy, or you are concerned about the injury, contact your veterinarian.
It is also worth remembering that one accident does not mean your dog will permanently hate nail trimming.
Your response matters.
Do not punish your dog.
Give them time to settle and rebuild the positive association during future sessions.
How to React Calmly During an Accident
Staying calm yourself is one of the most important things you can do after nicking the quick.
If you react with panic or frustration, your dog will pick up on that energy and associate nail trimming with a stressful event.
Speak in a calm, neutral tone, apply the styptic powder, and give your dog a short break.
Returning to a positive, gentle approach in the next session is the best way to rebuild trust.
When to Call Your Veterinarian
Most minor nicks resolve quickly with proper care.
However, if bleeding continues beyond a few minutes, seems unusually heavy, or the nail appears cracked or split, your veterinarian should be consulted.
Your vet can assess whether the injury requires further attention, such as additional clotting support or pain relief.
How Short Should Black Dog Nails Be?
There is no single measurement that works for every dog.
Nail length depends on the individual dog, the shape of the nail, how quickly it grows, how much the dog naturally wears their nails down, and how long the quick has become.
A useful practical goal is to keep the nails short enough that they do not interfere with comfortable movement.
If you can hear your dog’s nails clicking against hard floors, they may be getting too long.
However, sound alone is not a perfect measurement.
Your veterinarian or professional groomer can show you an appropriate length for your particular dog.
Why Regular Trimming Makes the Job Easier
There is another reason not to let black nails become extremely long.
The quick can extend farther into an overgrown nail.
That means suddenly cutting the nail back to a much shorter length can be painful.
Regular small trims give the quick an opportunity to gradually recede as the nail is maintained.
This makes future trimming easier.
Think of it as maintenance rather than a major grooming project.
A little attention every couple of weeks can be much easier than waiting several months and trying to fix everything in one afternoon.
How Nail Growth Varies Between Dogs
The exact schedule varies between dogs.
Some dogs naturally wear their nails down through regular walking.
Others barely wear them at all.
Common Mistakes When Trimming Black Dog Nails
Trying to Find the Quick From the Outside
Veterinary professionals recommend using the “tiny cut and inspect” method instead, since the quick is not visible from the outside of a black nail.
Because black nails hide the quick, repeatedly staring at the outside of the nail will not necessarily tell you where it ends.
Use tiny cuts and inspect the cut surface instead.
Taking Too Much Off at Once
Large cuts give you very little room for correction.
Small cuts give you information after every step.
Holding the Paw Too Tightly
A nervous dog may struggle more if their paw is restrained aggressively.
Use gentle, controlled handling.
Ignoring Body Language
Your dog cannot tell you, “That pressure is uncomfortable.”
They communicate in other ways.
Pulling the paw away, repeatedly licking their lips, turning their head, freezing, panting, or attempting to escape can all indicate that the session is becoming stressful.
Trying to Finish Every Nail
You do not have to complete the entire job if your dog has had enough.
Stopping on a positive note can make the next session much easier.
Forgetting the Dewclaws
Dewclaws often receive less natural wear because they do not contact the ground in the same way as other nails.
Check them regularly.
Overgrown dewclaws can eventually curl around and press into the skin.
How to Make Nail Trimming Less Stressful
The best nail trimming routine is one that your dog can tolerate without fear.
Start with short sessions.
One day, you might simply handle the paws.
The next day, you might trim one nail.
Later, you can work on two or three.
There is nothing wrong with taking several days to complete all four paws.
Use a reward after successful handling.
If your dog is food motivated, tiny treats can make a big difference.
You can also use praise, play, or another reward your dog genuinely enjoys.
Try to end the session before your dog becomes overwhelmed.
This teaches your dog that grooming sessions have a beginning and an end.
When You Should Let a Professional Handle It
Some dogs are simply too frightened or reactive for safe home nail trimming.
If your dog has had a traumatic nail trimming experience, the American Kennel Club (AKC) recommends consulting a professional groomer or veterinarian who can help safely manage reactive dogs.
That does not mean you have failed.
It means the situation may require a different approach.
A professional groomer can provide experienced handling and help complete the nail trim more safely when home trimming is difficult.
If your dog’s nails are severely overgrown, curled, cracked, or embedded into the paw, professional attention is also advisable.
A veterinarian should be involved if there is significant bleeding, infection, swelling, persistent pain, or another concerning change.
If your dog panics whenever their paws are touched, your veterinarian can also help determine whether pain, previous injury, or another issue is contributing to the reaction.
Benefits and Challenges of Trimming Black Dog Nails at Home
Benefits
Regular home trimming can keep your dog’s nails at a comfortable length.
It can reduce the risk of nails becoming excessively long and interfering with movement.
It also gives you regular opportunities to inspect the paws for cracks, swelling, foreign material, or other changes.
For dogs that become comfortable with the process, nail care can become a simple part of their normal grooming routine.
There is also a practical benefit. Once you understand how your dog’s nails look as you trim them, you may become much more confident about maintaining them between professional grooming appointments.
Challenges and How to Handle Them
The Quick Is Difficult to See: Remove only tiny amounts and inspect the freshly cut surface after each cut.
Your Dog Pulls Their Paw Away: Spend more time practicing calm paw handling before attempting a full nail trim.
You Accidentally Cause Bleeding: Keep pet-appropriate styptic powder nearby and remain calm. Seek veterinary advice if bleeding is heavy or does not stop.
Your Dog’s Nails Are Already Very Long: Do not try to make them extremely short in one session. Gradual trimming is safer.
Your Dog Is Extremely Fearful: Stop forcing the process and consider working with a professional groomer or veterinarian.
A Simple Black Nail Trimming Routine
Once your dog is comfortable, the process can become surprisingly straightforward.
Choose a quiet place.
Prepare your clippers or grinder, treats, and styptic powder.
Let your dog settle.
Handle one paw gently.
Separate one toe.
Remove only the very tip of the nail.
Look at the freshly cut surface.
Repeat with another tiny amount if there is still plenty of safe nail remaining.
Stop when you are getting close to the quick or when your dog has had enough.
Reward your dog.
Repeat regularly rather than waiting until the nails become very long.
The biggest change usually comes from replacing the mindset of “I need to get these nails short today” with “I need to safely remove a little nail today.”
That small change can make the entire process less stressful.
Conclusion
Trimming black dog nails can feel intimidating because the quick is hidden, but you do not need to guess blindly.
The safest method is gradual.
Prepare your dog first, use the correct tools, take tiny amounts from the nail, inspect the freshly cut surface after each cut, and stop before you reach the quick.
If you accidentally nick the quick, stay calm and use an appropriate styptic product for minor bleeding.
If your dog’s nails are severely overgrown or your dog becomes extremely distressed, let a professional groomer or veterinarian take over.
Most importantly, do not measure success by how short the nails are.
Measure it by whether your dog remains comfortable and the nails are maintained safely.
With patience and regular practice, even those intimidating black nails can become a manageable part of your dog’s grooming routine.
Frequently Asked Questions
How can I tell where the quick is on a black dog nail?
The quick is difficult to see from the outside of a black nail. The safest approach is to remove very small amounts at a time and examine the freshly cut surface as you go. As you approach the quick, the center of the nail may become more distinct. Stop before you reach it.
How often should I trim my dog’s black nails?
There is no universal schedule because nails grow at different rates and dogs wear them down differently. Check the nails regularly and trim them when they become too long rather than waiting for them to become severely overgrown.
Can I use a nail grinder instead of clippers?
Yes. A grinder can give you more gradual control because you remove small amounts of nail at a time. However, some dogs dislike the sound or vibration, so introduce it slowly and keep contact brief to prevent heat buildup.
What should I do if my dog’s nail starts bleeding?
If you accidentally nick the quick, remain calm. Apply gentle pressure and a pet-appropriate styptic product according to its directions. If the bleeding is heavy or does not stop, contact your veterinarian.
What if my dog’s black nails are already very long?
Avoid trying to cut them dramatically shorter in one sitting. The quick may have grown farther into the nail, so gradual trimming is safer. A professional groomer or veterinarian can help if the nails are severely overgrown.